
We've gotten pretty close to a Google Experience before, and even played around with the actual Google Play Edition build. However, the devs over at XDA have a much better solution: actually converting your HTC One into a complete factory-fresh Google Play Edition.
Since most of the hardware is the same, it requires only modifying the software. But, if you've never done anything like this before, I'm going to lay it all out for you below.
Prerequisite: S-OFF
Before you begin installing the bootloader and recovery, you'll need to make sure your HTC One is set to S-OFF. Check out my last tutorial for instructions on doing so using Moonshine. If you used a different method to get S-OFF before in the past, you can still read through the prep steps.
Step 1: Download the Full RUU Zip
Download the full Rom Update Utility (RUU) using this link onto your computer. If it's not working, you can also check the XDA thread for updated download links.
Put this file in your SDK tools directory.
Step 2: Back Up Your SD Card
Just a warning before we continue. Proceeding with this process will wipe everything from your HTC One, including your SD card data, so make sure you back up your SD card before continuing.
Step 3: Change Your Model ID (if Necessary)
Plug your phone into your computer, open a command prompt, and reboot to the bootloader manually or by using the command adb reboot bootloader.

Navigate to your SDK tools directory.

Once your phone is connected (it should say FASTBOOT USB on the screen), check the model ID. The command is fastboot getvar modelid. If it model ID doesn't match ours (PN0712000), you'll need to change it.

Shadowboy23 has a really good guide over on XDA for doing this, but keep a look out for a future softModder tutorial. It's pretty easy, but a lengthy process, and I wanted to get this GPE guide out first since so many people have been asking for it.
Step 4: Change Your Cell ID
Finally, you can change your Cell ID (CID) to the Google Play Edition's. Usefatboot oem readcid to check it and fastboot oem writecid GOOGL001 to change it.
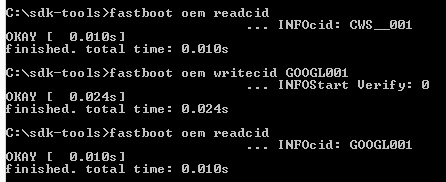
You can change it back to the stock CID (CWS_001) using this method, as well.
Step 5: Flash the RUU
Now that your bootloader thinks it's a Google Play Edition device, you can flash the RUU from that phone. Put it in the correct mode to accept the update using fastboot oem rebootRUU.
Then, flash the RUU with the command fastboot flash zip filename where "filename" is the name of the downloaded zip file.
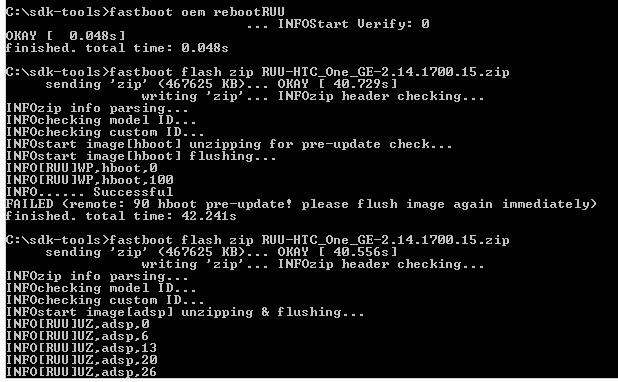
As you can see, you may have to send that last command twice before it will work. Let it run, and when it's finished, it will boot into the new Google Play Edition bootloader. Use your volume keys to select RECOVERY and pressPower.
And That's It!
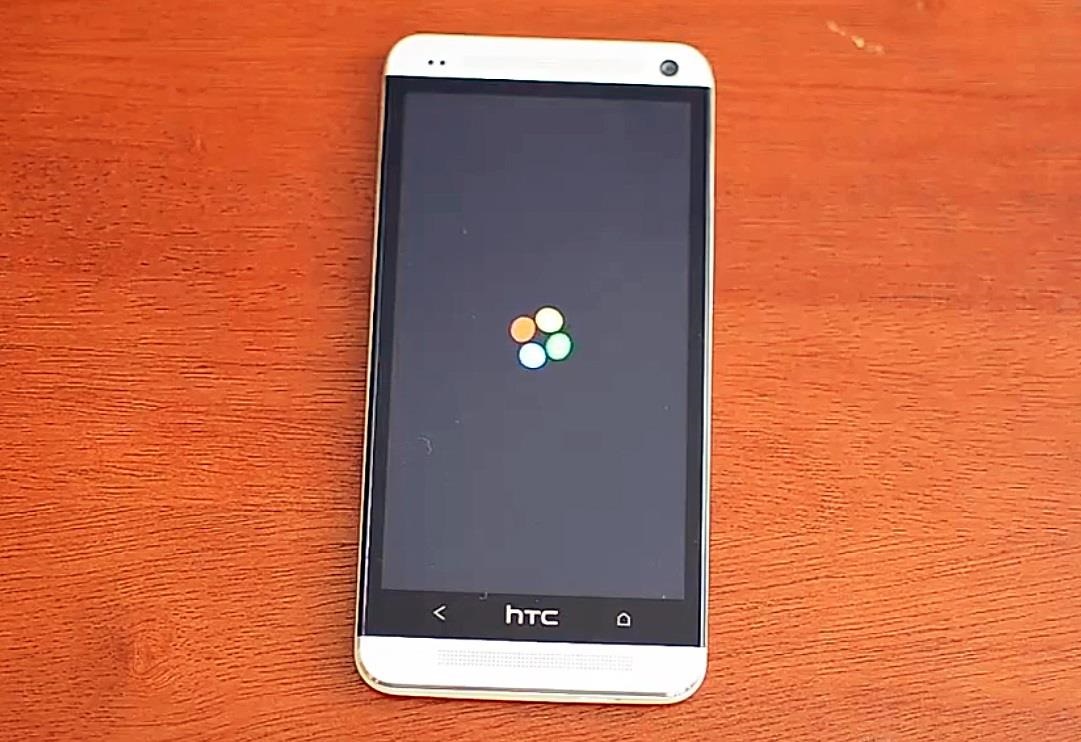
You'll see the Google splash screen and Google Play Edition boot animation, and you'll have a fully stock Google Play Edition HTC One with over the air (OTA) updates.
Make sure you watch the video for a complete walkthrough of these steps, and if you have any questions on this process, please post them below and I'll see if I can help you out.


No comments:
Post a Comment